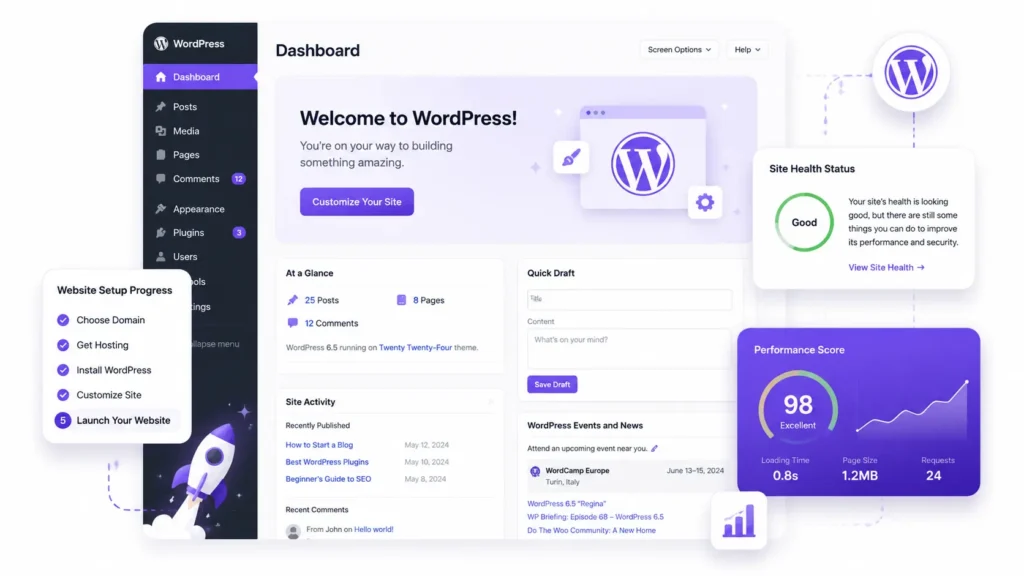

Launching a new website is one of the most exciting milestone for any creator, entrepreneur or business owner. whether you are building a personal blog, setting up an eCommerce store or creating a company website, your online presence is often the first impression your audience gets- and that first impression matters.
But here’s the truth, many websites go live before they are actually ready. broken links, missing SEO settings , slow loading times, or security issues can quietly sabotage your launch before you even start promoting it. that’s where a website launch checklist comes in, it ensures that every page , plugin and piece of contents working perfectly before the world sees it.
Think of this checklist as your final pre – flight inspection . you have already done the heavy lifting. choosing your domain, setting up hosting and build the design . if you haven’t yet created your site , I recommend starting with how to create a website with WordPress (step by step for beginners ) – it walks you through everything from setup to publishing your first page.
in this post we we’ll go through a complete 25- step launch checklist that applies to any website platform – whether you are using WordPress, Wix, or even a custom coded site. by the end you’ll know exactly what to test, fix and optimize before going live – so your launch feels smooth , confident and professional.
TOC on WordPress launch checklist.
Foundation setup (Domain, Hosting, SSL, CMS)
Before you start checking off design details of SEO tweaks , your foundation has to be solid. a website is only as the platform it’s built on – and this stage is where you make sure everything behind the scenes is stable, secure and future proof
01 – Choosing your domain correctly
Your domain name is your digital address. make sure it’s easy to remember , brand relevant and connected properly to your hosting.
- Double- check your DNS settings and ensure they point to your hosting provider
- test your domain by typing it in to a browser , it should load your site without delay or redirection errors.
- Use only one primary domain version- either with or without “WWW” – to prevent duplicate indexing in search engines .
If you haven’t get your domain yet , first study how to choose a domain name for your WordPress website
02 – Verify your hosting quality
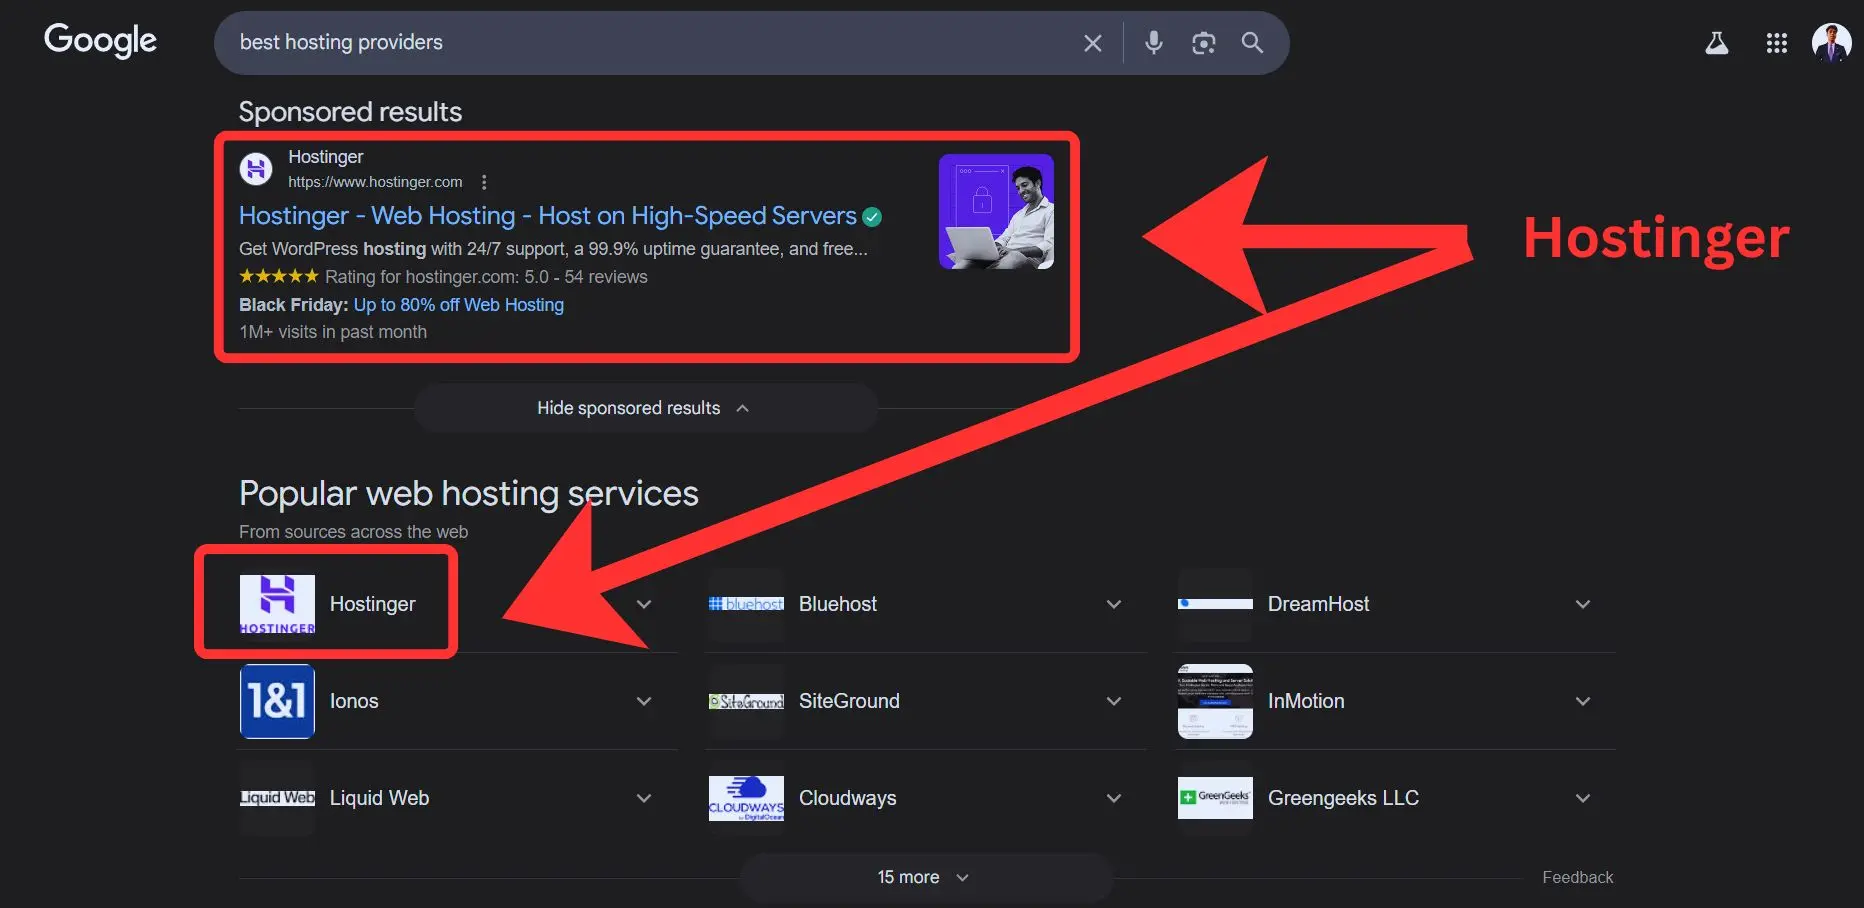
Hosting is the backbone of website performance . a cheap or unreliable plan can slow down your site and hurt SEO from day one.
- choose a hosting provider known for uptime and scalability (Hostinger)
- for blog or small business sites , shared or managed WordPress hosting works well.
- for ecommerce stores, VPS or cloud hosting ensures better performance and security.
Run a speed test with tools like GTmetrix or PageSpeed Insights– your homepage should ideally load in under 3 seconds .
03 – Setup SSL (HTTPS security)
in 2025 , there is no excuse for not using HTTPS. a security socket layer (SSL) certificate encrypt your site data , build trust and is a direct Google ranking factor.
- most hosts now provide free encrypt SSL. activate it through your hosting dashboard.
- after activation , ensure all URLs automatically redirect from http:// to https://.
- test your certificate with WhyNoPadock.com or SSL labs to make sure there are no mixed content issues.
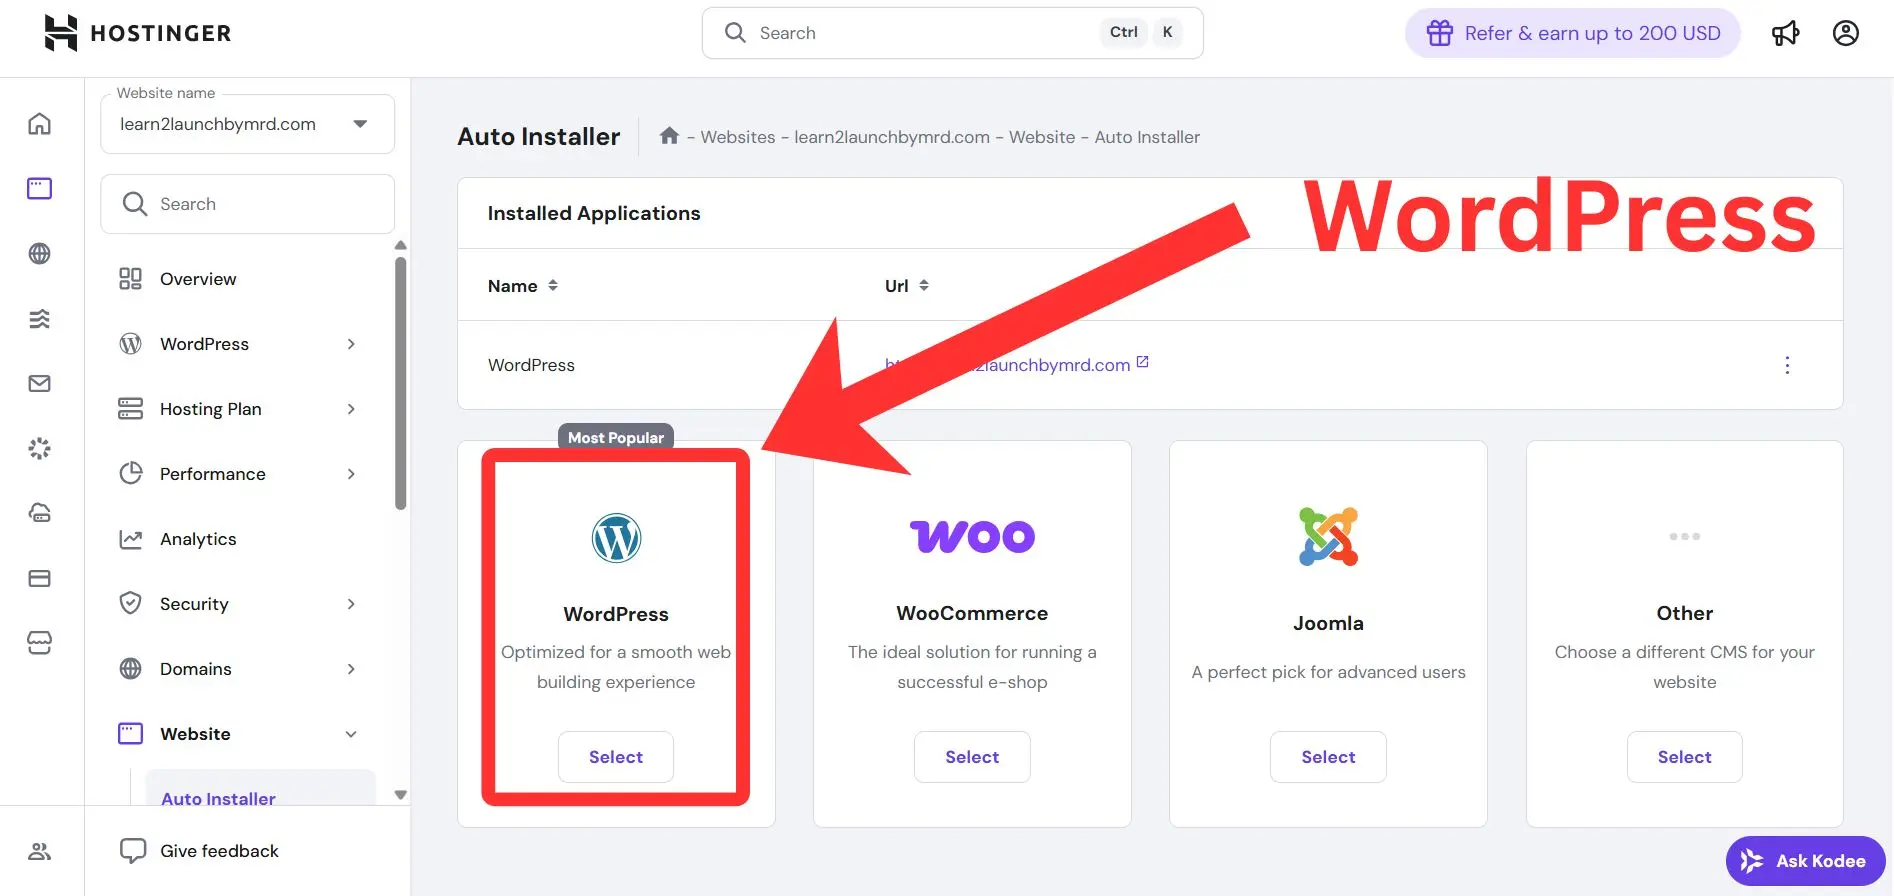
04 – install and configure your CMS
Whether you are using WordPress , Shopify , Wix or custom CMS , make sure it’s updated and configured properly before launch.
- delete demo pages and placeholder content.
- update your admin username and password for security.
- configure general settings : site tile , tagline, timezone and favicon.
- if you are using WordPress, install essential plugins only – no clutter. you will handle optimization later in the checklist
your foundation setup is now ready. with your domain , hosting, SSL and CMS all working smoothly , your website is officially prepared for the next stage . technical optimization – where we start turning performance , security and structure before going live
05 – Install a reliable backup plugin
before going live , create a safety net. backups protect your entire site from data lost, crashes and hacking attempts – specially after theme or plugin updates.
recommended backup plugins:
- UpdraftPlus – simple, beginner friendly and integrates with Google dive or Dropbox.
- JetBackup – (often preinstalled with Hostinger or c panel hosting)
- BackupBudy – perfect for scheduled, automated backups .
Always keep at least one off site copy (like Google drive). you can schedule weekly or daily backups depending on how often you update your site.
06 – Check for broken links
broken links frustrate readers and hurt your SEO score. before you go live , scan your site for any broken internal or external links.
Tools and plugins
- broken link checker (WordPress plugin)- automatically scans for dead links
- AHREFS broken link checker (free online tool)
- screaming for SEO spider (desktop tool)
after fixing, retest your links and make sure everything points to live , relevant pages. create a monthly reminder to run a quick broken link scan , it keeps your site’s UX and SEO healthy.
This complements your earlier optimization steps in quick settings after installing WordPress , setup your website for success
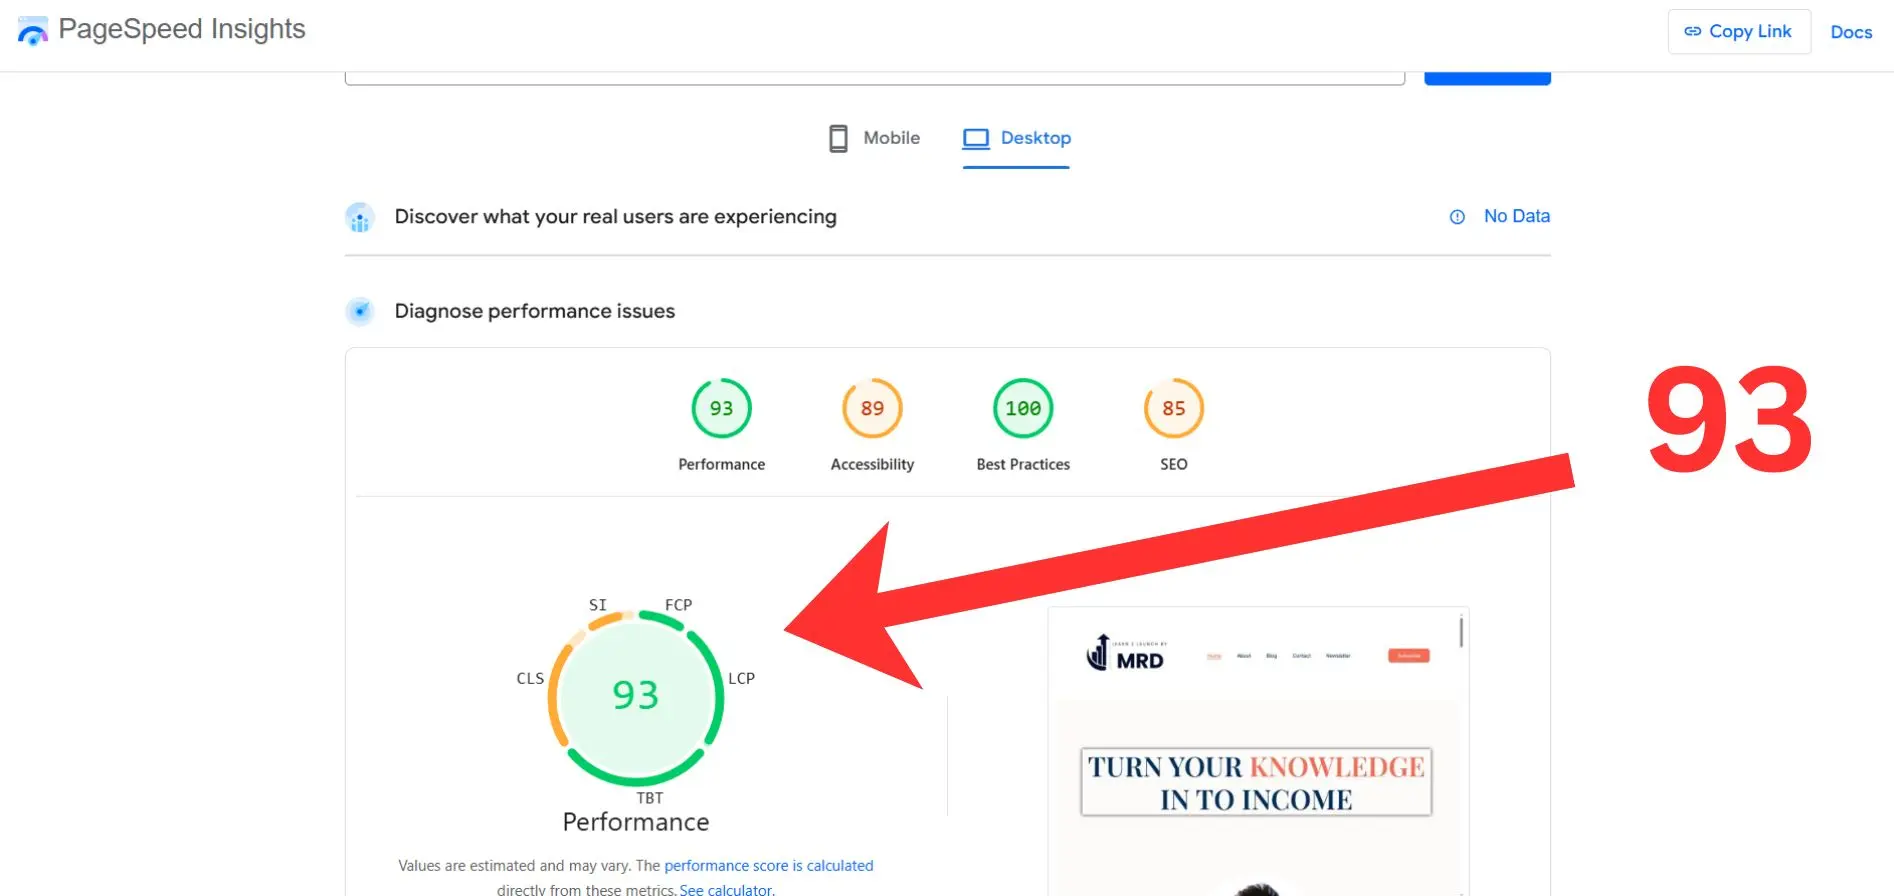
07 – Test website speed (pre launch audit)
speed directly affects user experience and search ranking. if your site takes longer than 3 seconds to load , many visitors will leave.
run speed test using
- Google PageSpeed Insights
- GTmetrix
- Pingdom tool
we should improve it ,
- load time – under 3 seconds
- page speed score- 85+
- Largest Contentful Paint (LCP) – under 2.5 second
how to improve speed?
- using caching plugin like WP rocket or LightSpeed cache
- optimize images well
- use a reliable hosting provider
Slow loading times can seriously hurt user experience- that’s why it’s worth learning how to speed up your WordPress website effectively.
08 – Optimize all images.
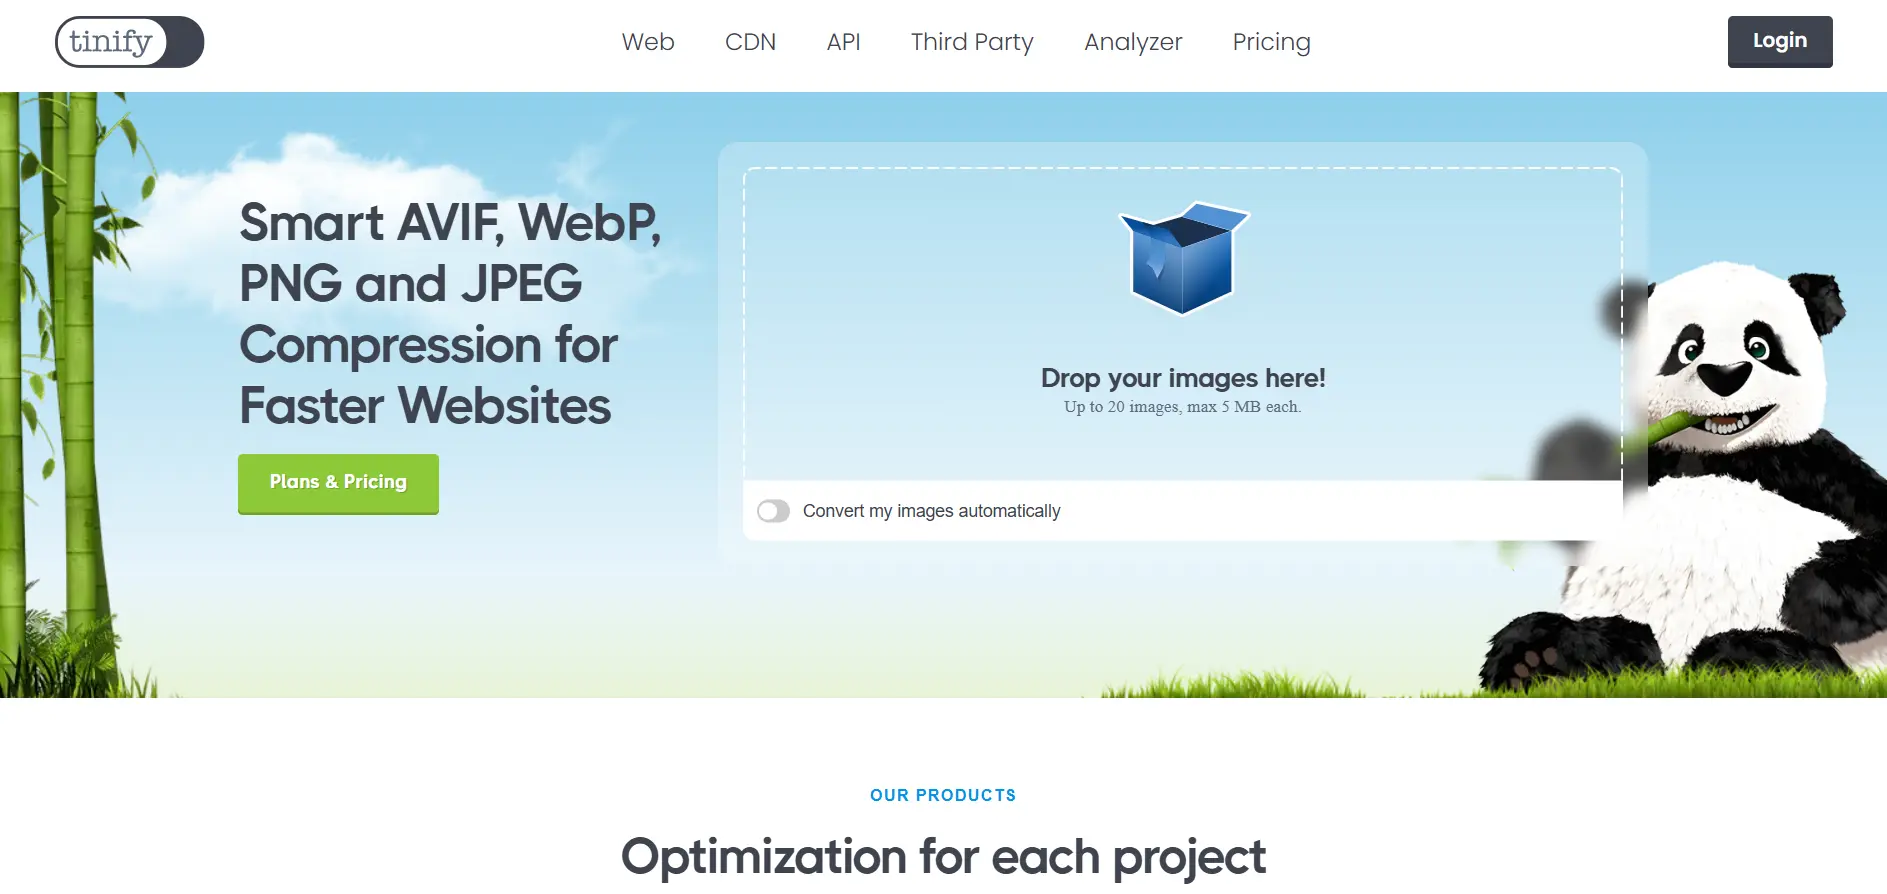
large, unoptimized images are one of the main reasons for slow load times, compress every image before uploading it. you can use Tiny PNG (online tool), ShortPixel or Smush (WordPress plugins) .
- compress without losing quality
- rename image files with descriptive keywords
- add ALT text for accessibility and SEO
Example : “checklist launching a WordPress website before going live”
09 – set up caching for faster performance.
Caching stores a static version of your website so it loads faster for returning visitors. then, what are the recommended plugins you can use?
- WP Rocket – Paid but extremely beginner-friendly.
- LiteSpeed Cache – Excellent and free (works best on LiteSpeed servers).
- W3 Total Cache – Advanced customization for developers.
After setup check your speed again on GTmetrix , to see performance improvement.
10 – Test mobile responsiveness
More than 70% of visitors browse from smartphones. a mobile unfriendly site kills conversions fast.
01 . Test on multiple devices — Android, iPhone, and tablets.
02 . Check menus, buttons, and images for proper spacing and scaling.
03 . Use Google’s Mobile-Friendly Test to verify.
04 . Ensure no text is cut off or overlapping.
A mobile-friendly layout ensures your site looks great on any device — and that starts with understanding how to design a website layout with WordPress that adapts smoothly across different screen sizes.
11 – Install an SEO Plugin (Rank Math or Yoast SEO)
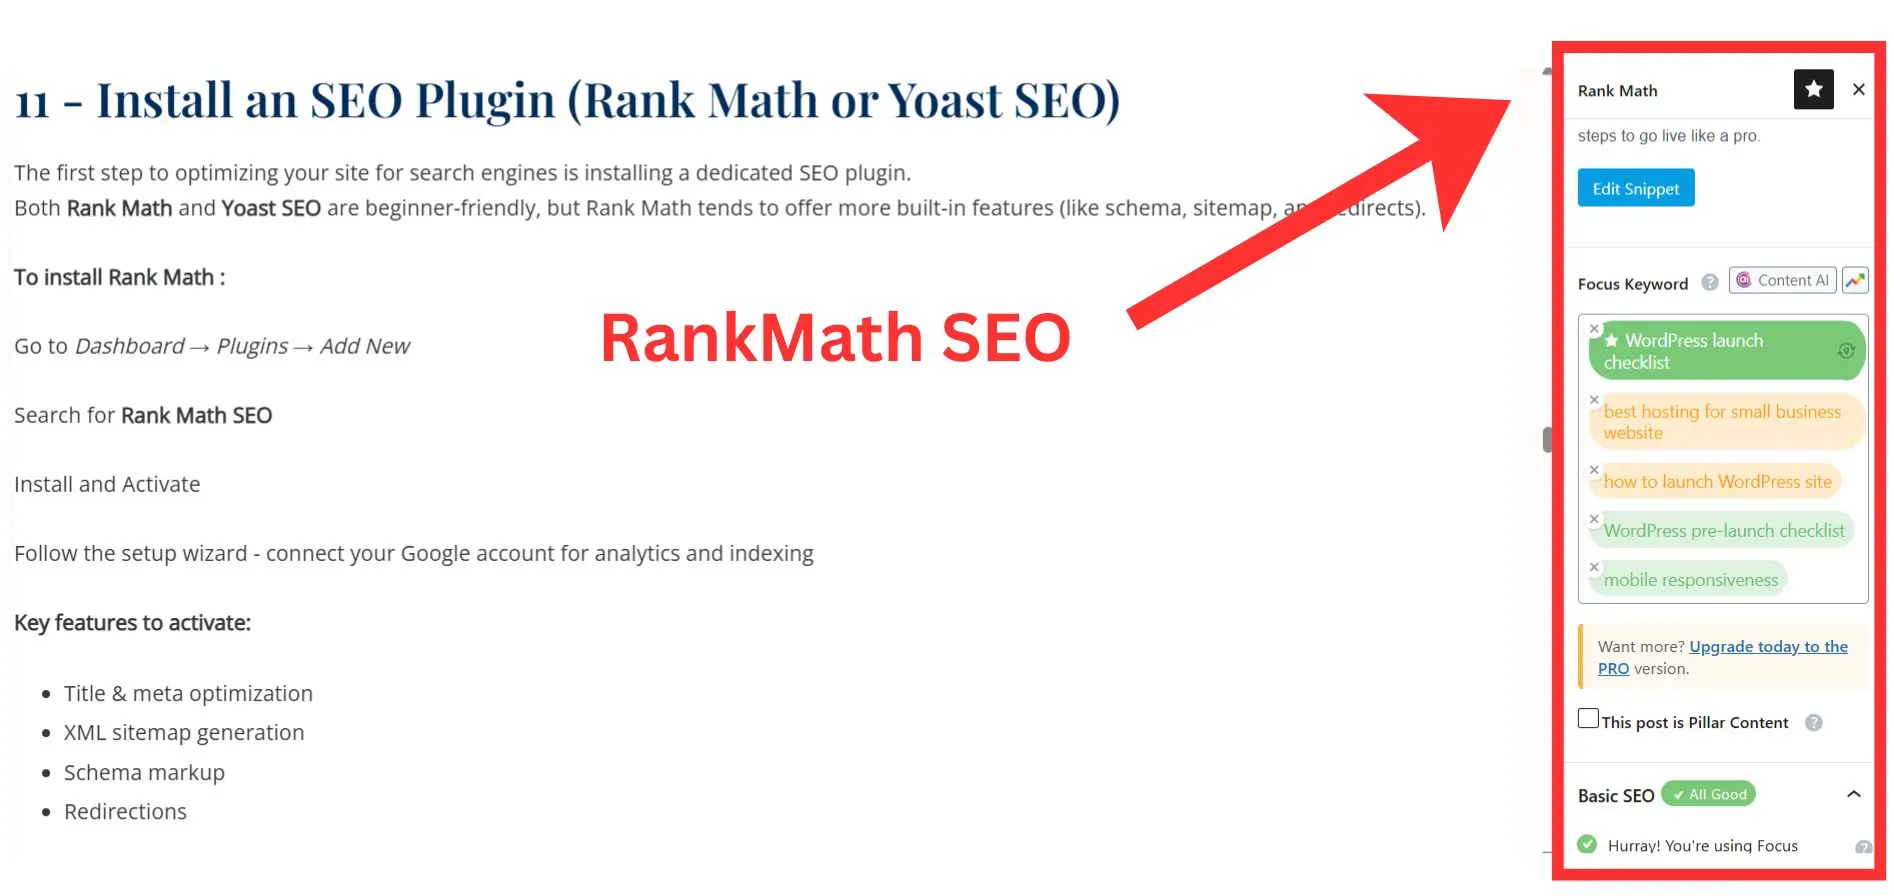
The first step to optimizing your site for search engines is installing a dedicated SEO plugin.
Both Rank Math and Yoast SEO are beginner-friendly, but Rank Math tends to offer more built-in features (like schema, sitemap, and redirects).
To install Rank Math :
Go to Dashboard → Plugins → Add New
Search for Rank Math SEO
Install and Activate
Follow the setup wizard – connect your Google account for analytics and indexing
Key features to activate:
- Title & meta optimization
- XML sitemap generation
- Schema markup
- Redirections
Before setting up Rank Math, ensure your WordPress environment is clean and optimized – as explained in Quick Settings After Installing WordPress: Set Up Your Website for Success.
12 – Add Focus Keywords and Meta Descriptions
Each page and blog post should target a unique focus keyword — the main phrase you want to rank for.
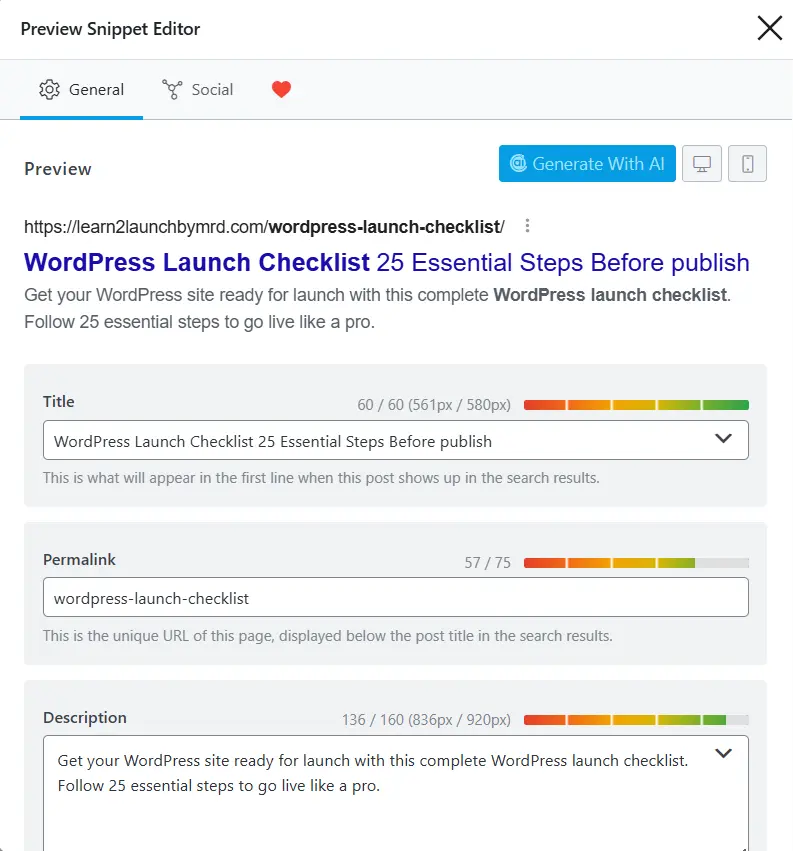
For example, in this post my focus keyword is “WordPress launch checklist.”
Where to add:
- Inside the SEO plugin (under each post or page)
- Keep meta titles under 60 characters and meta descriptions under 160 characters
Example:
- Meta Title: “The Ultimate WordPress Launch Checklist: 25 Steps Before Going Live”
- Meta Description: “Follow this complete WordPress launch checklist to optimize, secure, and publish your website successfully — whether it’s a blog, store, or portfolio.”
Keyword usage tips:
01 – Use your main keyword once in the introduction (first 100 words).
02 – Use secondary keywords naturally in subheadings (e.g., WordPress pre-launch checklist, launch checklist for WordPress site).
03 – Don’t keyword-stuff — keep readability natural.
13 – Set Up Google Search Console
Google Search Console (GSC) is your direct communication line with Google. It helps you:
- Monitor indexing status
- Track keywords your site ranks for
- Fix crawl errors
- Submit sitemaps
Step by step guide :
- Visit Google Search Console
- Add your website (use Domain property if possible)
- Verify ownership (DNS or HTML file upload)
- Submit your XML sitemap (created automatically by Rank Math or Yoast)
14 – Set Up Google Analytics (GA4)
Google Analytics (now GA4) lets you track how people find and interact with your website.
Without it, you’re flying blind — you won’t know which posts perform well or what to improve.
How to install GA4 easily:
- Use the Site Kit by Google plugin (recommended)
- Or connect manually using your GA4 Measurement ID
Once installed, you can track:
- Traffic sources (Google, Facebook, Pinterest, etc.)
- User behavior (time on page, bounce rate)
- Conversions (sign-ups, button clicks)
15 – Create and Submit XML Sitemap
An XML sitemap helps Google discover and index all your website pages efficiently.
Your SEO plugin (Rank Math or Yoast) automatically generates this — no coding needed.
To discover it :
- Rank Math:
yourdomain.com/sitemap_index.xml - Yoast SEO:
yourdomain.com/sitemap.xml
Then, in Google Search Console → Sitemaps → Paste the URL → Click Submit
Once done, Google will start crawling your site within hours or days.
16 – Optimize Your Homepage Title and Meta Description
Your homepage is your digital storefront — it’s often the first page search engines and users see.
Spend time crafting a homepage title and description that clearly explain what your site offers.
Example:
- Title: “Build and Launch Your WordPress Website – MRD Guide for Beginners 2025”
- Meta Description: “Learn how to create and launch a professional WordPress website with our complete checklist, hosting tips, SEO setup, and design strategies.”
Quick tips:
Add a call-to-action phrase (“Learn,” “Start,” “Discover”).
Use your brand name at the end of the title (helps with recognition).
Your homepage title and meta description should reflect your site’s purpose clearly — and that begins with how to design a website layout with WordPress that aligns your visuals and structure with your brand message.
17 – Write a Custom 404 Page
A custom 404 page helps users when they land on a missing or broken page — instead of bouncing away, they’ll navigate deeper into your site.
Tips for a helpful 404 page:
Add a friendly message (“Oops! That page doesn’t exist.”)
Include links to your homepage, blog, and popular posts
Optionally, add a search bar or button to “Go Back.”
Example text for the 404 page:
“looks like this page moved or doesn’t exist. Don’t worry — you can go back to our homepage or check our latest post on How to Secure Your WordPress Website“
18 – Proofread all content
No matter how beautiful your website design is , spelling or grammar mistakes can ruin your credibility instantly. what can you do for proofreading;
- check for typos and grammar errors ( use Grammarly , Hemingway Editor or Quillbot)
- read your content out loud
- verify all your dates , facts statistics are current.
- ensure tone and style are consistent with your brand (casual, professional, friendly)
in this case tour website is large , assign proofreading to another team member or use a tool like Language tool to scan every page at once
19 – Check image ALT texts
Alt text is often forgotten – but it’s crucial for SEO and accessibility. It tells Google ( and screen readers for visually impaired users ) what each image represents.
Best practices for Alt Text:
- Be descriptive but concise (example – “WordPress dashboard homepage setup” instead of “image1”).
- Include keywords naturally where relevant.
- Don’t stuff keywords – focus on clarity.
Review all images using your Media Library or browser “Inspect” tool to confirm every <img> tag has proper alt text.
20 – Ensure All Internal Links Work
Internal links are the backbone of SEO and reader navigation. They connect your posts and pages, helping both users and search engines understand your site structure.
Internal Linking Checklist:
- Link pillar posts to related articles.
- Every blog post should have at least 2–3 internal links.
- Use descriptive anchor text, not generic “click here .”
- Avoid orphaned pages (content with no links pointing to it).
Use a tool like Link Whisper or Ahrefs Site Audit to visualize your internal link network.
Example for natural Linking
“When reviewing your internal links, make sure key resources like [How to Create a Website with WordPress] are properly interlinked so readers can easily travel between related guides.”
21 – Add Featured Images
Featured images are often the first thing people notice when sharing your post on social media or Google Discover.
Tips for Creating Consistent Featured Images:
- Use Canva templates with your brand fonts and colors.
- Keep image dimensions consistent (e.g., 1200×628 px for blog thumbnails).
- Add subtle overlays for readability.
- Use high-quality royalty-free photos (Unsplash, Pexels, Pixabay).
If you’re writing multiple blog posts, design a branded style template for uniformity across all featured images.
22 – Test Navigation Menus
Your navigation is the roadmap of your site. Before launching, make sure it’s clear, accessible, and functional on all devices.
Check the following:
- Menu items link correctly and display in order.
- Dropdowns and submenus are working properly.
- Navigation is visible and aligned on desktop and mobile.
- Test navigation speed and responsiveness.
Ask a friend or colleague to browse your site without guidance- note if they get lost or confused. That’s how you’ll spot UX issues.
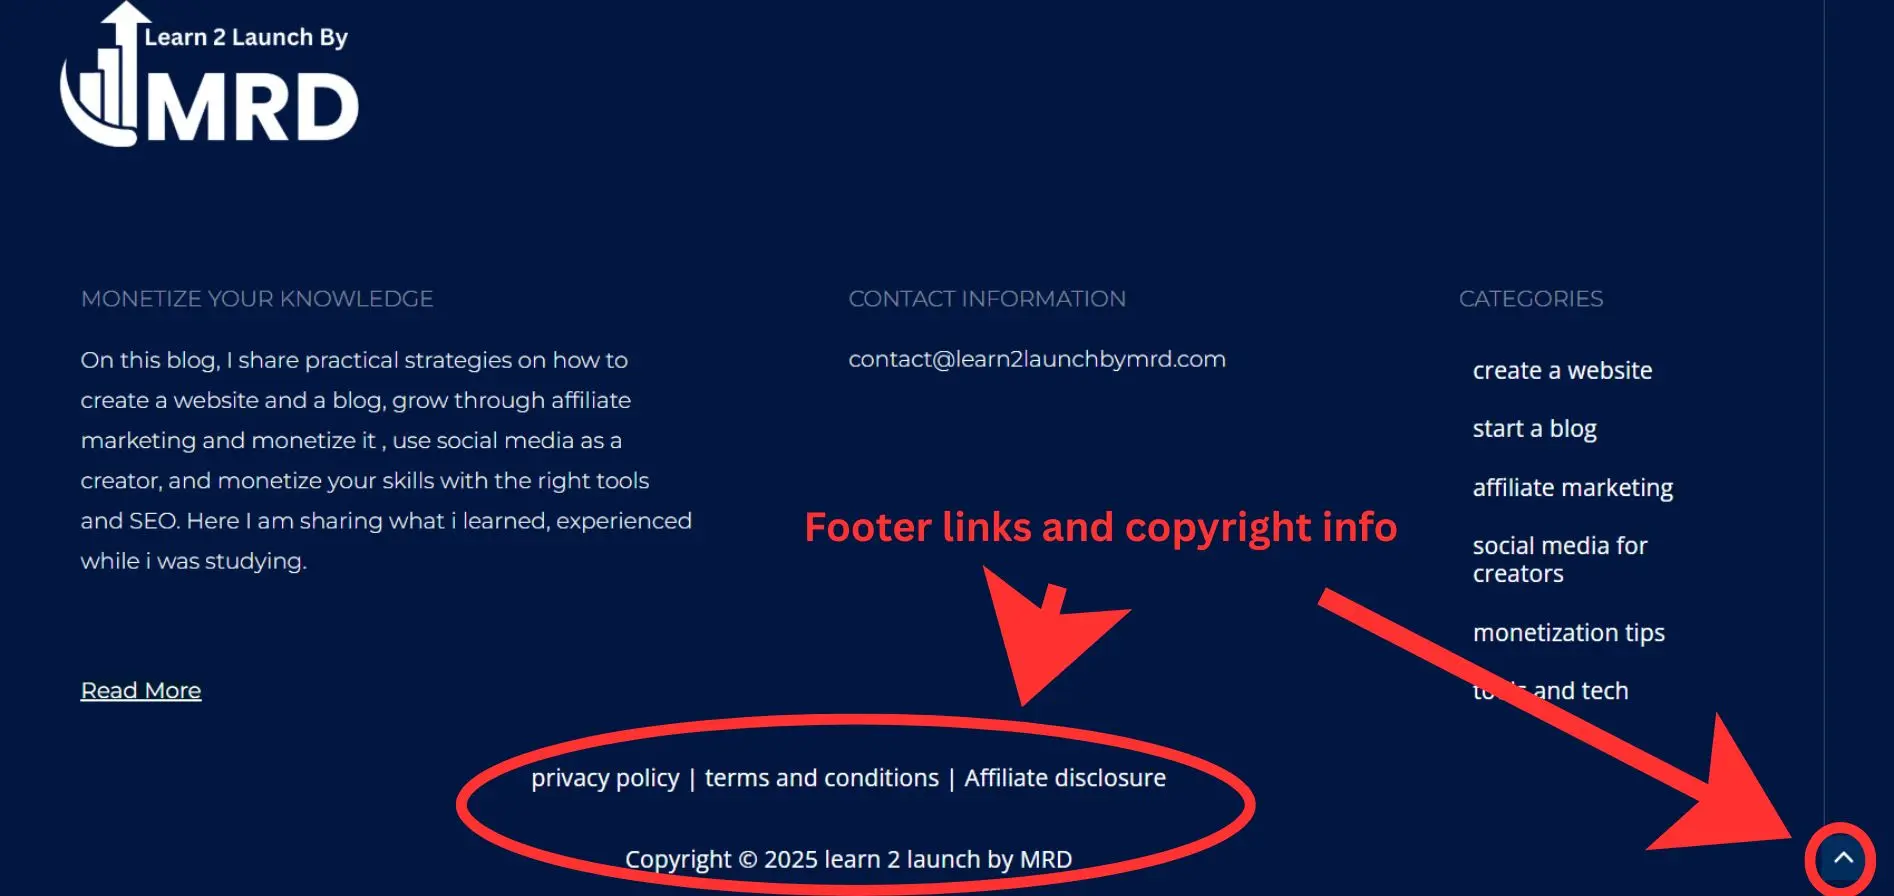
23 – Check Footer Links and Copyright Info
Your footer may seem small, but it carries trust signals – privacy, credibility, and brand professionalism.
Include these essential elements:
- Privacy Policy, Terms of Service, and Contact links.
- Social media icons.
- Newsletter signup form (if applicable).
- Correct copyright year (example – “© 2025 YourBrandName. All rights reserved.”).
Add a “Back to Top” button to improve navigation.
24 – Test Your Contact Form and Email Notifications
Your contact form is the main bridge between your visitors and your business.
If it doesn’t work properly, you might lose leads, customers, or collaboration opportunities – without even realizing it.
Check these before launch:
- Submit a test message through your contact form and confirm you receive it in your inbox.
- Reply to yourself through the same thread to ensure your “From” address isn’t marked as spam.
- Use a professional email address (e.g., hello@yourdomain.com) instead of Gmail or Yahoo for brand credibility.
- Verify your form design is responsive and visually matches your site.
- Add a thank-you message or redirect page after form submission — this boosts user satisfaction.
If you’re using WordPress, WPForms, Contact Form 7, or Fluent Forms are reliable choices.
Also, check that your SMTP email settings are configured using plugins like WP Mail SMTP to prevent message delivery failures.
Optional Add-ons:
- Add Google reCAPTCHA to avoid spam.
- Integrate email marketing tools ( e.g., MailerLite, ConvertKit) to capture leads directly.
25 – Announce Your Website Launch
Your website launch is more than just pressing “Go Live” — it’s a marketing opportunity.
Whether your site is a blog, business page, or online store, make your launch moment count.
Here’s how to announce it effectively:
On Social Media:
Create excitement with visuals and captions that share your story.
Examples:
“After months of building and learning, my new website is finally live! Visit [yourdomain.com] and let me know what you think!”
Platforms to Post On –
- Facebook Page
- Pinterest (create a launch pin using Canva)
- X (Twitter)
- Quora (mention it subtly in relevant answers)
When announcing your website launch, social media is your best friend. Platforms like Facebook, Instagram, and Pinterest can drive your first wave of visitors instantly. To plan your promotion effectively, learn how to use social media to grow your online business, including the best ways to build awareness and engagement from day one.
Send an Email Newsletter Announcement:
If you’ve built a subscriber list using MailerLite or ConvertKit, send a short and engaging email announcing your launch.
Sample Email:
Subject: “We’re Live! Explore My New Website 🚀”
Body:
“After weeks of design and testing, I’m thrilled to announce that my new website is officially live! You’ll find tutorials, guides, and resources to help you [your niche goal].Check it out: [learn2launchbymrd.com]
Thank you for your support – this is just the beginning!”
Add Tracking for Your Launch:
Use Google Analytics (GA4) and Search Console to monitor your first-day traffic.
Check for bounce rate, session duration, and which pages perform best.
Celebrate Your Launch:
Make your audience part of the journey. Share a behind-the-scenes story about your website creation, challenges you overcame, or what readers can expect next.
These personal touches create connection and encourage visitors to stay.
Optional: Offer a Launch Freebie or Discount:
If it’s an eCommerce or service site, you can:
- Offer a 10% discount for first customers.
- Give away a free downloadable checklist or resource (like your “Printable Website Launch Checklist”).
This not only celebrates your launch but also builds email subscribers and early engagement.
Frequently asked questions on WordPress launch checklist.
What are the most important things to do before launching a website?
Before launching, verify your domain and hosting connection, install an SSL certificate, back up your site, and check for broken links. Don’t forget to test mobile responsiveness and set up Google Analytics and Search Console for accurate tracking after launch.
How do I know if my WordPress site is ready to go live?
Run through a WordPress pre-launch checklist that covers technical setup, SEO readiness, design polish, and content review. If your site loads fast, displays correctly on all devices, has optimized meta titles and descriptions, and passes speed and security checks, it’s ready to go live.
How can I improve SEO before launching my WordPress site?
Use an SEO plugin like Rank Math or Yoast SEO, write keyword-optimized meta descriptions, create an XML sitemap, and interlink your content. For deeper SEO guidance, refer to your post on [How to Secure Your WordPress Website (Beginner-Friendly Security Tips)] — it adds an extra layer of technical optimization too.
What tools help with website testing before launch?
Use Google PageSpeed Insights or GTmetrix to test speed, Ahrefs Broken Link Checker to find dead links, and Grammarly for proofreading. For backups and security, try UpdraftPlus or JetBackup. Caching tools like WP Rocket can also improve load times before you go live.
WordPress Launch Checklist
Tick each step as you prepare to launch your site with confidence.
- Choose a reliable domain name
- Verify your hosting quality
- Set up SSL (HTTPS)
- Install and configure your CMS
- Check your domain & hosting connection
- Install a backup plugin
- Check for broken links
- Test website speed
- Optimize images
- Set up caching
- Test mobile responsiveness
- Install Rank Math or Yoast SEO
- Add focus keywords and meta descriptions
- Set up Google Search Console
- Set up Google Analytics (GA4)
- Create and submit XML sitemap
- Optimize homepage title + meta description
- Write a custom 404 page
- Proofread all content
- Check image alt texts
- Ensure all internal links work
- Add featured images
- Test navigation menus
- Check footer links and copyright info
- Test contact form and announce your launch
you’ve made it through the entire WordPress launch checklist! By taking the time to prepare every technical detail, optimize your content, and plan your promotion strategy, you’ve already done what most beginners overlook.
Remember, launching a website isn’t just about pressing “publish.” It’s about creating a strong foundation – one that supports growth, SEO performance, and a professional first impression. Every step you’ve completed, from setting up SSL to crafting your 404 page, brings you closer to building a reliable online brand.
Your website is now live, optimized, and ready to welcome the world. But this is only the beginning – now comes the exciting part: attracting visitors, growing your audience, and turning your hard work into results.